Brush Strokes and Blunders: Navigating Common Paint Project Mistakes
Are you planning a paint project but not sure where to start?
In this article, we will discuss the most common mistakes that people make when painting their homes. We will cover everything from preparation errors, like not cleaning the surface properly, to colour and finish mishaps, such as choosing the wrong colour. We will also delve into technique blunders like improper brush strokes and clean-up mistakes like not cleaning brushes and rollers properly.
Stay tuned to learn how to avoid these common paint project pitfalls!
Preparation Mistakes
Preparation Mistakes are crucial to avoid in any paint project as they can lead to a subpar finish. Proper Surface Preparation is key before painting to ensure paint adhesion and a smooth application. Skipping the Primer can result in issues with paint durability and finish. Using the Right Tools, whether brushes, rollers, or other painting tools, is essential for achieving professional results.
A well-prepared surface ensures the paint adheres properly, preventing it from peeling or chipping over time. Surface texture plays a vital role in the final look of the paint job, with smoother surfaces typically giving a more polished finish. Primers act as a foundation for the paint, helping it to adhere better and provide more even coverage.
When using the right tools, different surfaces and paint types require specific brushes, rollers, or sprayers to apply the paint correctly and evenly.
Not Cleaning the Surface Properly
One common preparation mistake in paint projects is Not Cleaning the Surface Properly before painting. This can lead to poor paint adhesion, peeling paint, and an uneven finish.
Proper surface cleaning is essential because dirt, dust, and grease create barriers between the paint and the surface, preventing a strong bond. When the surface is not meticulously cleaned, the new paint may not adhere properly, causing it to flake or chip easily. To avoid these problems, using appropriate cleaning techniques like washing with soap and water, scrubbing with a degreaser, or sanding rough surfaces is crucial. Neglecting thorough surface preparation can ultimately result in the need for costly repairs or repaints.
Skipping Primer
Skipping the Primer is a critical mistake in paint projects that can compromise the paint’s adhesion and durability. Primer is a base coat that helps the paint adhere better to the surface and provides a uniform finish.
It acts as a foundation that creates a smooth and stable surface for the paint to bond to, enhancing its longevity and overall performance. You can prevent issues such as peeling, cracking, or uneven coverage with primer, ensuring a professional-looking and long-lasting paint job.
Priming helps to seal porous surfaces, reducing the chances of moisture penetration and protecting the underlying material from damage. By investing time in proper priming, you are not only improving the aesthetics of your project but also enhancing its durability and protection.
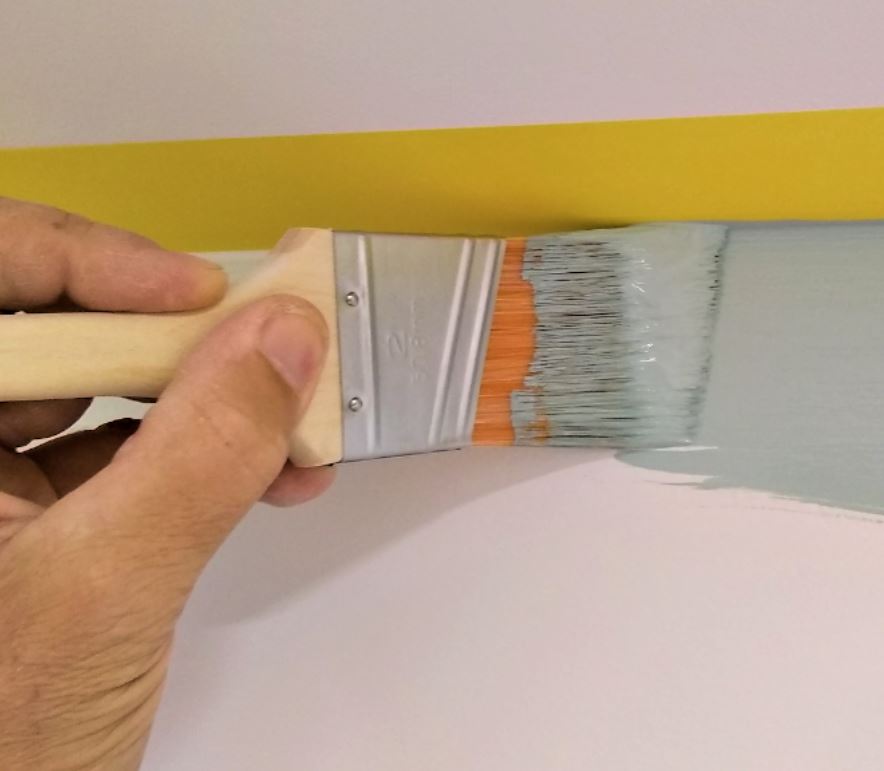
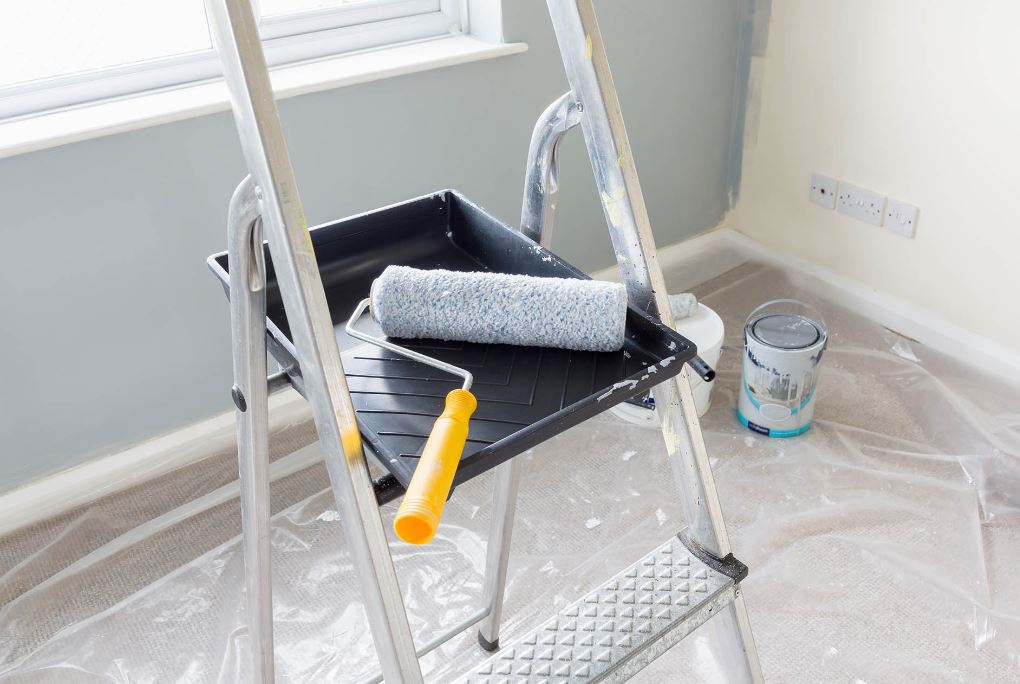
Not Using the Right Tools
Another preparation mistake to avoid is Not Using the Right Tools for the paint project. Using appropriate painting tools such as brushes, rollers, and other equipment can make a significant difference in achieving a professional finish.
Selecting the right brush for the surface and type of paint is crucial to avoid roller marks and ensure a smooth application. Different surfaces require specific tools – for example, rough surfaces may need thicker brushes, while smoother surfaces benefit from finer bristles. Using improper tools can result in unsightly roller marks, uneven coverage, and wasted paint. Investing in high-quality painting equipment suited to your project can improve efficiency and deliver a flawless outcome.
Colour and Finish Mistakes
Colour and Finish Mistakes can drastically affect the overall look of a paint project. Choosing the Wrong Colour, using the Wrong Type of Paint, and Not Applying Enough Coats are common errors that can lead to unsatisfactory results.
Ensuring the right shade and tone are crucial in achieving the desired aesthetic when it comes to colour mixing. The type of paint used also plays a significant role in the outcome; for instance, matte paints can give a different feel compared to glossy finishes. Applying the correct number of coats is essential for a professional finish, as inadequate coverage can result in uneven colour distribution and a subpar final appearance. Attention to these details can make a significant difference in the overall quality of your paint project.
Choosing the Wrong Colour
Choosing the wrong colour is one of the most common colour and finish mistakes in paint projects. Selecting a colour that clashes with the room’s décor or doesn’t suit the space can result in an unappealing finish.
When deciding on a colour for your paint project, it’s crucial to consider the overall mood you want to create in the room. Lighter, cooler hues like blues and greens can evoke a sense of calm and tranquillity, perfect for bedrooms or home offices. On the other hand, warm tones such as reds and oranges can add energy and vibrancy, making them ideal for social spaces like living rooms or kitchens.
Using colour swatches to compare shades against existing furniture and décor can help you visualise how the colours will interact in the space.
Not Testing the Colour Before Painting
Another colour and finish mistake to avoid is Not Testing the Colour Before Painting. It’s essential to paint a small area or use paint swatches to preview how the colour will look in different lighting conditions.
This step may seem small, but it can make a huge difference in a room’s overall look and feel. Lighting is crucial in how colours appear, as natural light can bring out different tones than artificial light sources. Testing the paint colour before committing to a full application can avoid costly mistakes and ensure that the chosen colour complements the room’s lighting and decor. Paint swatches are handy for comparing colours against existing furnishings and ensuring a harmonious colour scheme.
Using the Wrong Type of Paint
Using the Wrong Type of Paint is a common colour and finish mistake that can lead to issues such as peeling paint, poor adhesion, or an uneven finish. Choosing the right paint type for the surface and the desired outcome is crucial.
For example, emulsion paint is a popular choice for interior walls due to its easy clean-up and durability. In contrast, oil-based paint is better suited for high-moisture areas like kitchens and bathrooms. On the other hand, acrylic paint works well for exterior surfaces as it offers excellent weather resistance. Understanding the characteristics of each paint type and matching them to the specific conditions can ensure a long-lasting, professional-looking finish.
Not Applying Enough Coats
Not Applying Enough Coats of paint is a common mistake that can result in an uneven finish or blotchy paint. Applying the appropriate number of coats ensures a smooth and consistent appearance.
When applying paint, achieving a professional finish hinges on getting the right balance of layers. By carefully considering the type of paint and desired finish consistency, you can take steps to prevent imperfections. Properly applied coats not only enhance the aesthetic appeal but also contribute to the durability of the painted surface. Attention to detail in the layering process is crucial to ensuring longevity. Each additional coat builds protection and coverage, delivering a resilient and flawless final result.
Technique Mistakes
Technique Mistakes can impact the final look of a paint project. Not Using Proper Brush Strokes, Painting Against the Grain, and Not Allowing Enough Drying Time are common errors that can lead to an uneven or unprofessional finish.
Proper brush strokes are crucial in achieving a smooth and even paint application. The correct technique ensures the paint is applied evenly and adheres well to the surface, preventing streaks or clumping.
Paying attention to the grain direction of the painted surface can affect how the paint lays down, influencing the final texture and appearance. Allowing sufficient drying time between coats is essential for a durable finish, as rushing this step can result in streaks, uneven coverage, or even damage to the paint job.
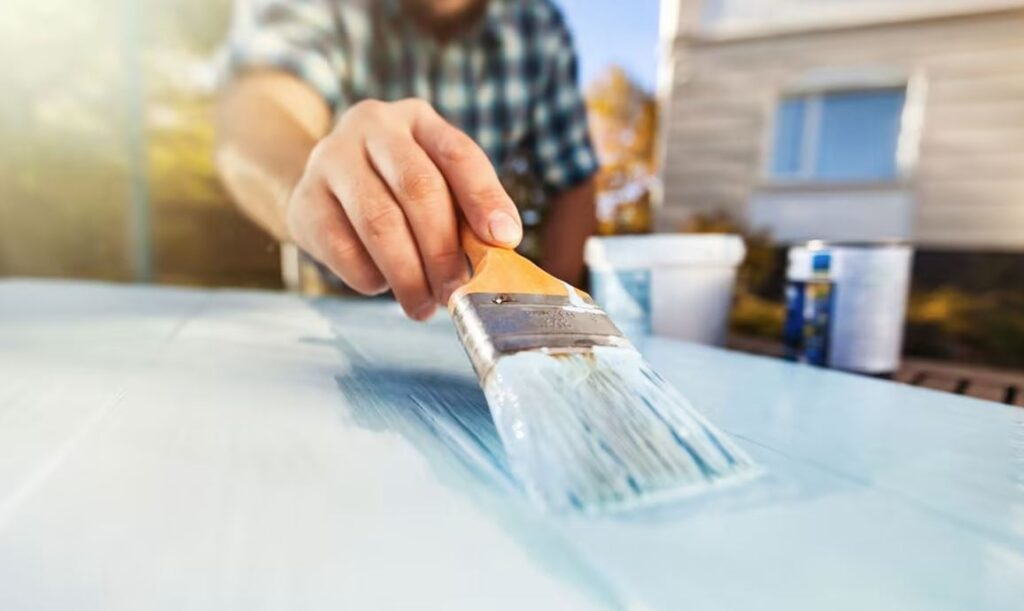
Not Using Proper Brush Strokes
One key technique mistake to avoid in paint projects is Not Using Proper Brush Strokes. Brush strokes can affect the texture and finish of the paint, so using the right technique is essential for a professional look.
Proper brush strokes are crucial in achieving a smooth and flawless paint finish. When applying paint, it’s important to use long, even strokes in the direction of the surface for a consistent appearance. Avoiding common errors, such as applying too much pressure or using a dry brush, can help prevent streaks and uneven coverage. By mastering brush techniques, painters can enhance the aesthetic appeal of their projects and ensure a professional outcome.
Painting Against the Grain
Painting Against the Grain is a technique mistake that can result in an uneven finish and poor adhesion. It’s important to follow the natural grain or direction of the surface for a smooth and professional look.
Understanding how to adapt your painting technique is vital when working with different surface textures and patterns. Considering a stippling or dabbing technique for rough surfaces can help ensure the paint adheres properly. Similarly, for intricate patterns, using a smaller brush and taking your time to work methodically can prevent mistakes. Rushing through a project or neglecting to adequately prepare the surface can lead to issues like paint flaking or peeling. You can achieve a polished and long-lasting finish by being mindful of surface grain and painting patterns.
Not Allowing Enough Drying Time
Not Allowing Enough Drying Time between coats or before touch-ups can lead to paint runs, overlapping brush strokes, or paint blisters. Proper drying time is crucial for a flawless finish.
When paint layers are not allowed to dry properly, they can run or sag down the surface, creating an uneven appearance known as paint runs. To avoid this, consider using drying racks to space out freshly painted pieces for adequate ventilation and drying time.
When determining if it is safe to apply additional coats, lightly touch the surface with the back of your hand; if it feels cool or tacky, it is not ready. Ensuring proper drying time prevents paint runs and enhances paint adhesion, leading to a more durable and professional-looking finish.
Clean-up Mistakes
Clean-up mistakes can detract from an otherwise successful paint project. Not Cleaning Brushes and Rollers Properly, Leaving Paint Tins Open, and Not Protecting Floors and Furniture are common errors that can lead to paint spills and damage.
Proper clean-up procedures are crucial to the longevity of painting tools and the preservation of surrounding surfaces. Failing to rinse brushes and rollers thoroughly can result in hardened bristles and reduced paint application quality. Leaving paint tins open can cause spills, leading to stains and potential slip hazards. Neglecting protective measures on floors and furniture may result in permanent damage from paint drips and spills, requiring costly repairs.
By addressing these clean-up tasks carefully, one can maintain the integrity of their tools and environment post-painting project.
Not Cleaning Brushes and Rollers Properly
One critical clean-up mistake to avoid is Not Cleaning Brushes and Rollers Properly after painting. Residual paint can harden and damage the tools, affecting future paint projects.
To ensure your painting tools’ longevity, following proper maintenance routines is essential. After each painting session, thoroughly clean your brushes and rollers to remove all traces of paint. This prevents paint adhesion issues in the future and keeps your tools in top condition for the next project.
Use warm, soapy water to clean your brushes’ bristles, reshape them back to their original form, and allow them to air dry. For rollers, rinse them thoroughly and remove excess paint, ensuring a smooth surface for your next paint job.
Leaving Paint Cans Open
Leaving Paint Cans Open is a common clean-up mistake that can lead to spills, evaporation of paint, and contamination. To maintain paint quality, it’s essential to seal paint cans tightly after use.
When paint cans are left open, exposure to air can cause the paint to dry out and thicken, making it difficult to use in the future. The quality of the paint can deteriorate quickly when it is not properly stored, affecting its colour, consistency, and overall performance. By sealing the paint cans tightly, you can prevent air from entering and keep the paint fresh for a longer period, ensuring it remains usable for future projects.
Proper paint storage is crucial in preserving the quality and longevity of your paint supply.
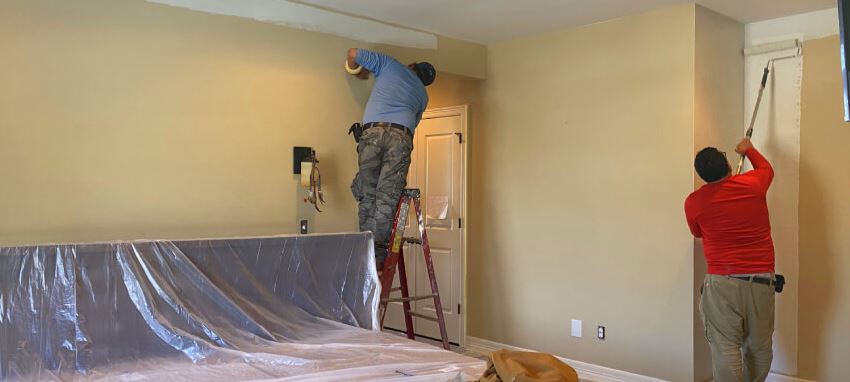
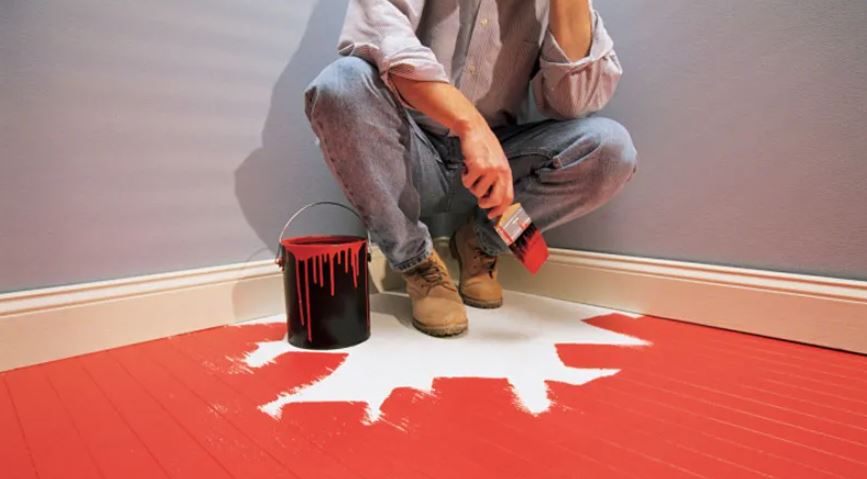
Not Protecting Floors and Furniture
Not Protecting Floors and Furniture during a paint project can result in paint spills, stains, and surface damage. Dust sheets, masking tape, and other protective measures are essential to prevent accidents.
- Dust sheets are a versatile option for floor protection as they can be easily laid down and offer a barrier against drips and spills.
- Consider using plastic or fabric covers to avoid accidental paint splatters when covering furniture.
- In addition to preventative measures, having a clean-up kit ready with cloth, brushes, and cleaning solutions can help address any minor mishaps quickly and effectively.
How to Avoid Common Paint Project Mistakes
Learning to avoid common paint project mistakes is essential for achieving professional results. You can improve your painting skills and create flawless finishes by understanding the pitfalls and learning from mistakes.
One crucial tip is to thoroughly prepare the surface …